Looking for a party theme that’s as colorful and fun as it is hands-on? Dive into the vibrant world of tie-dye! A tie-dye party is a chance for kids to let their creative juices flow, and create something beautiful that they can wear and treasure.
This interactive party idea is perfectly suited for kids aged 8-12, who are ready to mix colors and patterns to express their own unique style.
Invitations and Instructions
- Bring Your Own Shirt: While preparing your invitations, request that each guest bring along a plain white t-shirt or another suitable item to dye. This ensures that everyone has something to dye and makes the party favor even more personal.
- Have Extra On Hand: Consider having a few extra shirts or other items on hand just in case someone forgets to bring their own. It’s always good to be prepared!
Supplies
- Pre-Made Kits: You can find complete tie-dye kits online (we used this one) or at your local craft store. These kits typically include all the necessary items such as dyes, squeeze bottles, rubber bands, and gloves.
- DIY Kits: If you prefer to customize your party supplies, you can assemble your own tie-dye kits. Here’s what you’ll need:
- Dyes: Purchase fabric dyes in a variety of colors. Powdered dyes will need to be mixed with water, so plan accordingly.
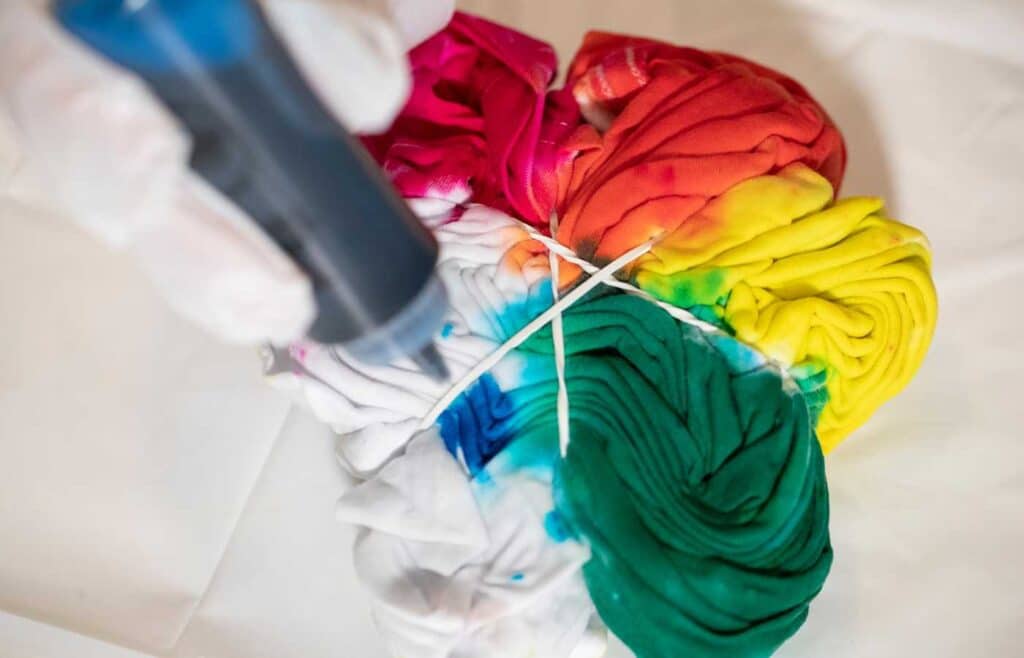
- Squeeze Bottles: For applying the dye, plastic squeeze bottles offer the best control. Make sure you have enough so that each child can use multiple colors without waiting.
- Rubber Bands: These are essential for creating designs on the fabric. Stock up, as kids love to experiment with different patterns!
- Rubber Gloves: To keep hands dye-free and safe, include a pair of gloves for each participant.
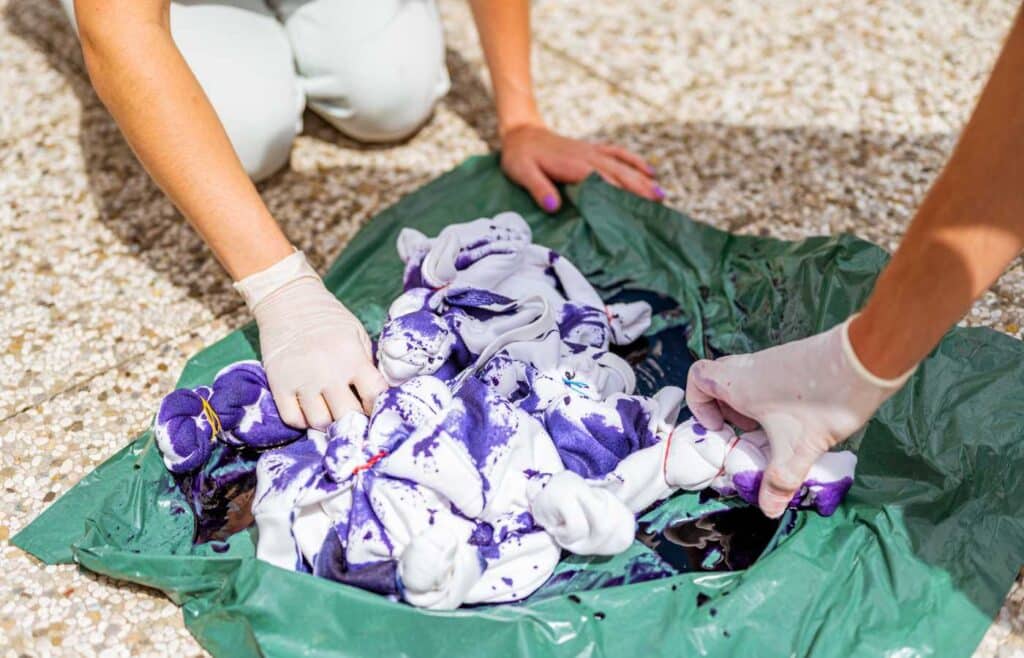
- Plastic Bags: Each guest will need plastic bag for each item they tie-dye. Their items will need to sit in the bag overnight before they wash them.
Snacks
- Rainbow Fruit Skewers: Align slices of different fruits on skewers to create a rainbow effect. Think strawberries, oranges, pineapples, green grapes, blueberries, and purple grapes.
- Color Wheel Cookies: Bake large round cookies and use icing to divide them into color wheel segments.
- Tie-Dye Smoothies: Blend up colorful smoothies using different fruits and vegetables, and serve in clear cups.
Set Up
To ensure everything runs smoothly and mess is kept to a minimum, follow these basic setup instructions for tie-dye stations:
Setting Up Your Tie-Dye Station
- Head Outdoors: Select a location that’s either outdoors or in a well-ventilated area indoors. Tie-dye can get messy, so an area that’s easy to clean or not susceptible to staining (like a grassy backyard or a garage) is ideal.
- Cover Surfaces: Lay down plastic tablecloths or tarps to protect the surfaces underneath your dyeing area. You can use newspaper or additional plastic sheeting on the ground to catch any drips.
- Organize Materials: Set up separate stations for each part of the dyeing process: one for prepping the shirts with rubber bands, one for applying the dye, and another for letting the dyed items sit before rinsing. Label each station with simple instructions to help guide the kids through the process.
- Prepare Dye Bottles: Mix dyes ahead of time and fill squeeze bottles. Make sure each bottle is tightly sealed to avoid spills. Arrange bottles in order of color spectrum to make it visually appealing and easier for kids to choose their colors.
10 Easy Tie-Dye Patterns for Kids
Whether your young guests are first-time dyers or looking to try something a little more intricate, there’s a pattern here to spark everyone’s imagination.
Here are a few popular choices that are perfect for kids:
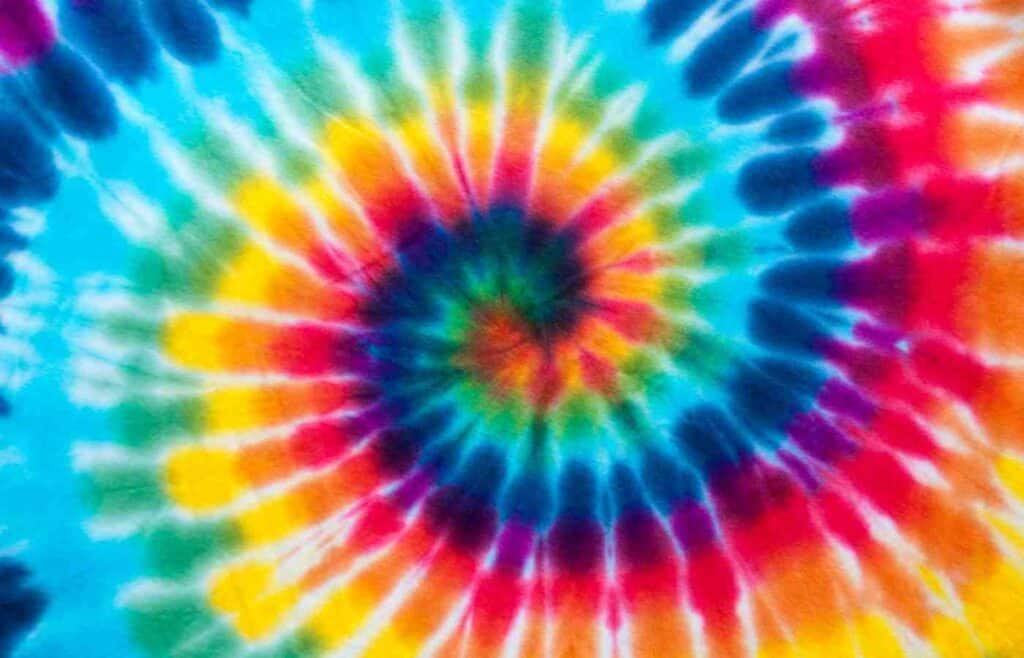
- Spiral: The classic tie-dye pattern that creates swirling, circular designs. Kids can twist their shirts from the center or any point they choose, and secure it with rubber bands radiating outward like the spokes of a wheel.
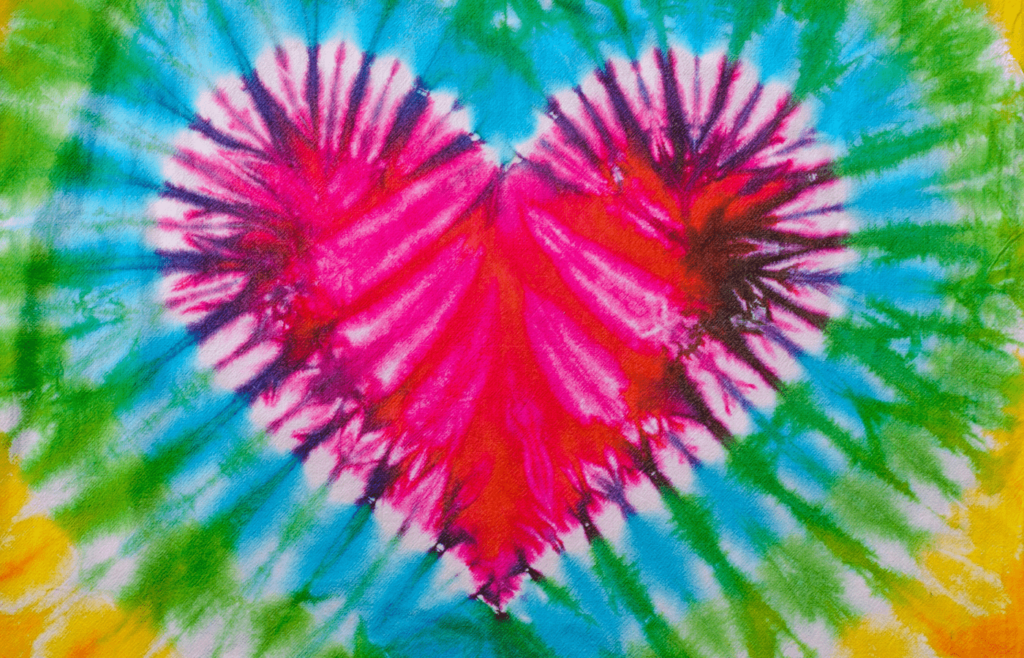
- Heart: Perfect for expressing love for colors and creativity. This pattern involves folding the fabric in half and drawing half a heart along the fold, then tying along the line with rubber bands.
- Bullseye: A fun and simple pattern where the fabric is pinched in the center and pulled up into a tube shape, then tied with rubber bands at intervals to create concentric circles.
- Stripes: Create vertical, horizontal, or diagonal stripes by folding the fabric accordion-style and tying it with rubber bands along the folded lines.
- Chevron: A bit more challenging but definitely rewarding, this pattern is created by folding the fabric into pleats, then applying diagonal bands across the pleats.
For a full list of patterns and detailed step-by-step instructions on how to create each one, including tips on color combinations and techniques, check out our comprehensive guide to 10 Easy Tie-Dye Patterns for Kids.
This guide provides visual aids and further explanations to ensure that every child can achieve beautiful results with their tie-dye projects.
Post-Dyeing Care Instructions
Creating a tie-dye masterpiece is just the beginning; proper care is crucial to maintain the vibrancy and longevity of your colorful creations.
Here are step-by-step instructions on how to wash tie dye, especially when washing them for the first time.
Safety Tips
- Protective Wear: Ensure that every participant wears rubber gloves to protect their hands from staining and any skin irritation from the dye. It’s also a good idea for everyone to wear old clothes or aprons to protect their outfits.
- Clear Instructions: Before starting, clearly explain each step of the dyeing process to the children. Let them know the importance of keeping the dye on the fabric and off each other!
- Supervision: Always have enough adults on hand to help manage the station and ensure that children are following safety guidelines.
Party Favors
- Tie-Dye Bandanas: In addition to t-shirts, offer small bandanas for kids to dye and take home as an extra souvenir.
- Fabric Markers: Provide fabric markers for kids to add doodles or write their names on their tie-dye creations once they are dry.
- Scrunchies: Provide elastic bands and let your guests dye them with leftover dyes for a fun and useful party favor.
- Personalized Aprons: Give out white aprons that kids can either wear or tie-dye during the party.
More Birthday Party Ideas
10 Best Indigo Tie Dye Patterns & Techniques
Calie Herbst, Editor-in-Chief of Milwaukee With Kids, has spent over a decade combining her experiences as a parent of three to create a hub for Milwaukee’s family adventures.
Her decade-long teaching career in Milwaukee Public Schools and academic background, including a Master’s in Teaching from Marquette University and dual B.A.s in Sociology and Spanish from the University of Wisconsin – Madison, fuel her passion for inclusive and engaging family content.
Calie is also a recognized voice in local media, contributing to WISN Channel 12 News, WTMJ Wisconsin Morning News, Fox 6’s Real Milwaukee, and B93.3.
Discover more about Calie’s journey and editorial approach on her About Page and Editorial Policy Page.
