Rainy weather can seem dreary, but with a little creativity, you can actually make some pretty fun memories.
If you’re looking for something to do on a boring rainy day, you’re in the right place.
Without further ado, here is an epic list of 100 fun indoor activities for your next rainy day (video games and screen time not included).
The best part? Most of them are free activities.
Let’s dive in!
Note: These rainy day activities are just one section of our epic list of
100 Fun Things To Do At Home With Kids >>
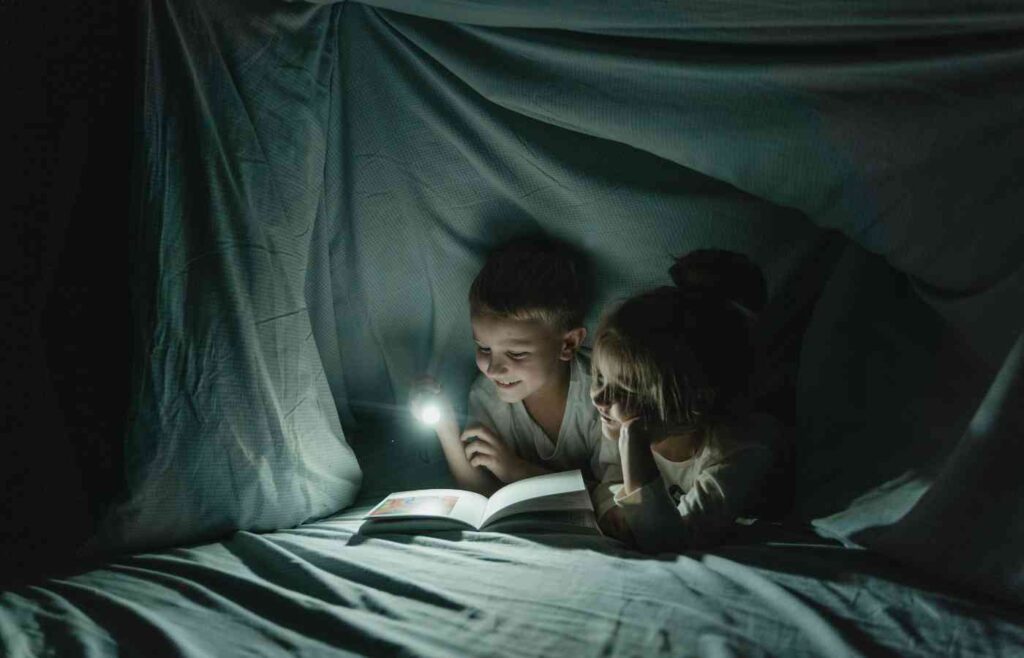
1. Build a Fort
The next time it rains, a great way to pass the time is by building a fort! Grab all the blankets in the house, chairs and tables for stability, pillows for comfort, and get to building your custom cozy fort.
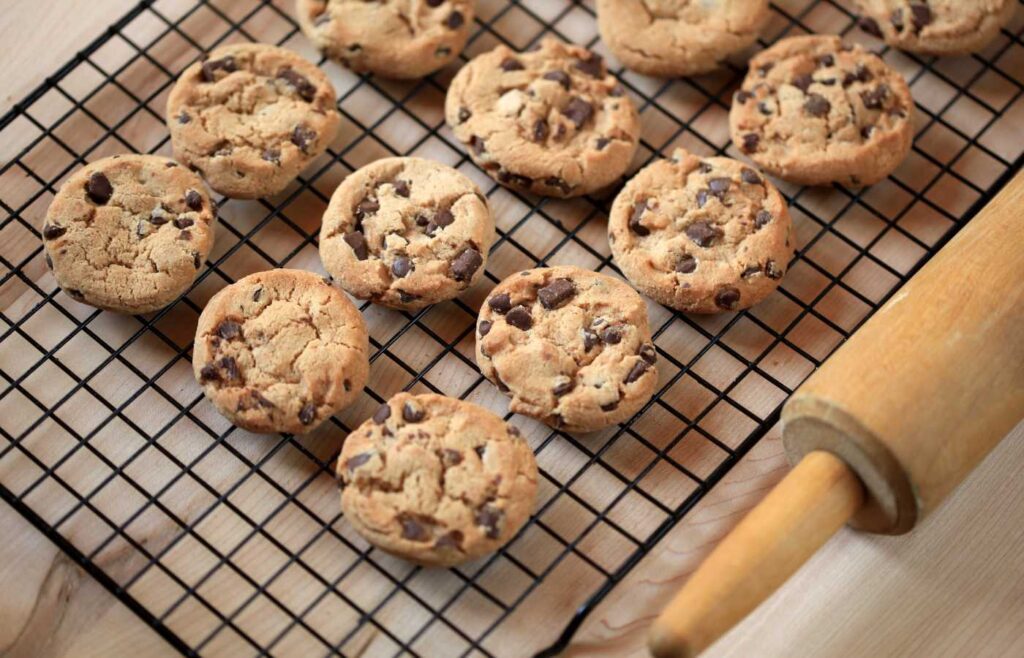
2. Bake Cookies
The best way to turn a boring afternoon into a delightful one is by baking cookies. You probably have all the ingredient in your pantry right now.
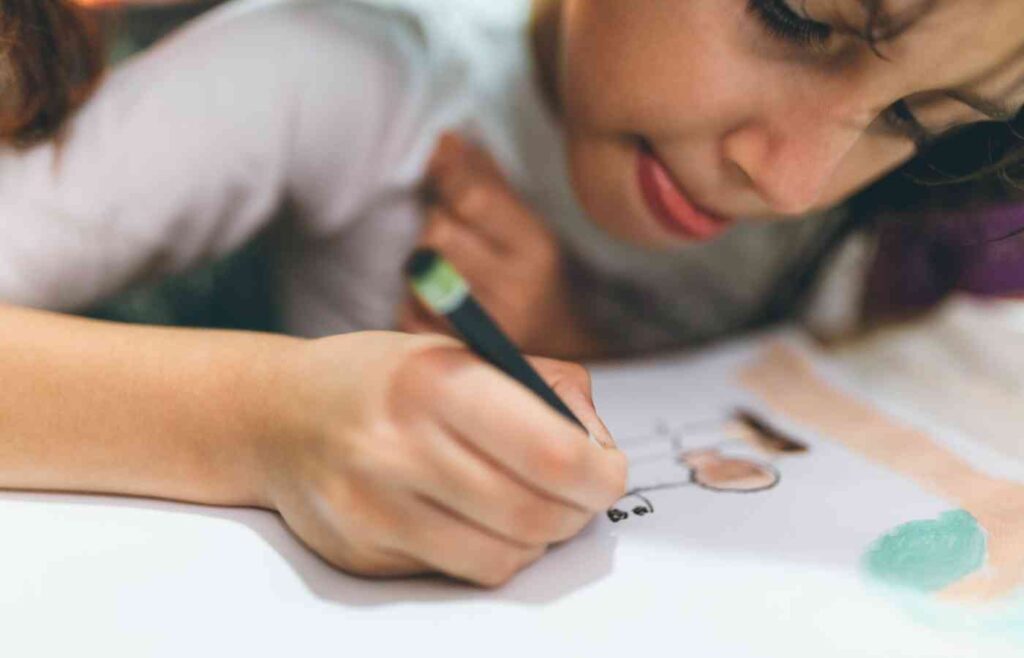
3. Draw a Picture
Bring out your inner artist and draw a picture, or bust out the coloring books that have been getting dusty in the cabinet. Need a great idea for your drawing? Check out Art for Kids Hub on Youtube. The videos are free and seemingly infinite, and the encouraging teacher will get your creative juices flowing.
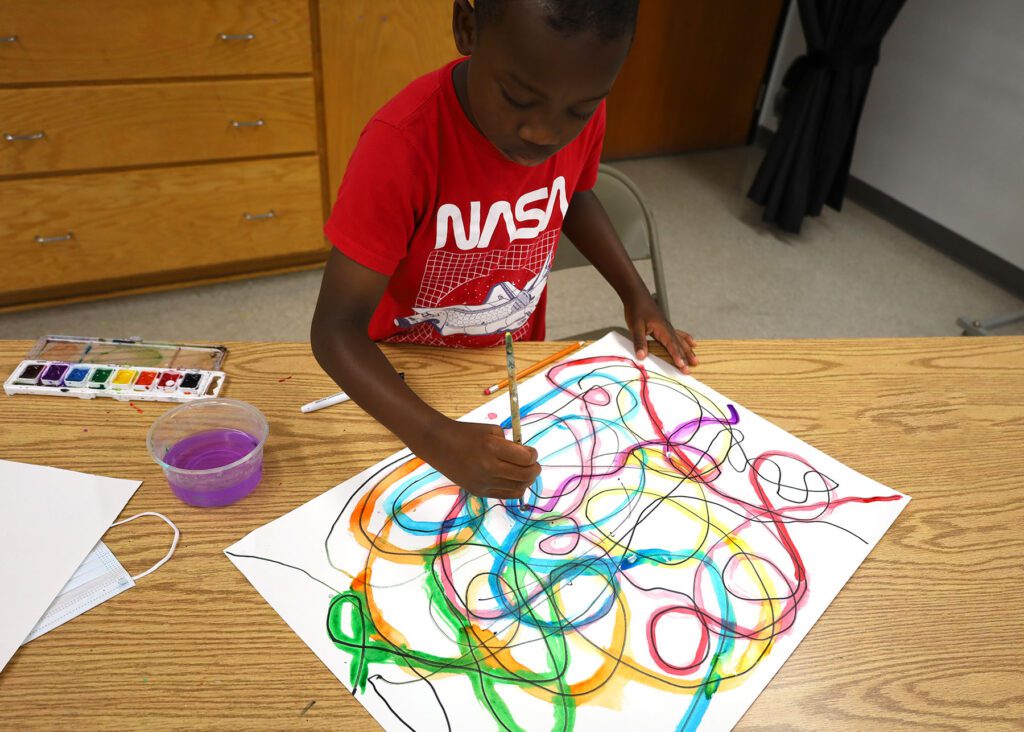
4. Paint With Watercolors
Another creative activity is to paint, and watercolors are typically less messy than other paints. Maybe you can paint something special for each of your family members.
5. Learn a Magic Trick
You’d be surprised how simple some of the most impressive magic tricks are. You’ll find fun ideas all over the internet. Perhaps you can learn enough magic trick to put on an entire show.
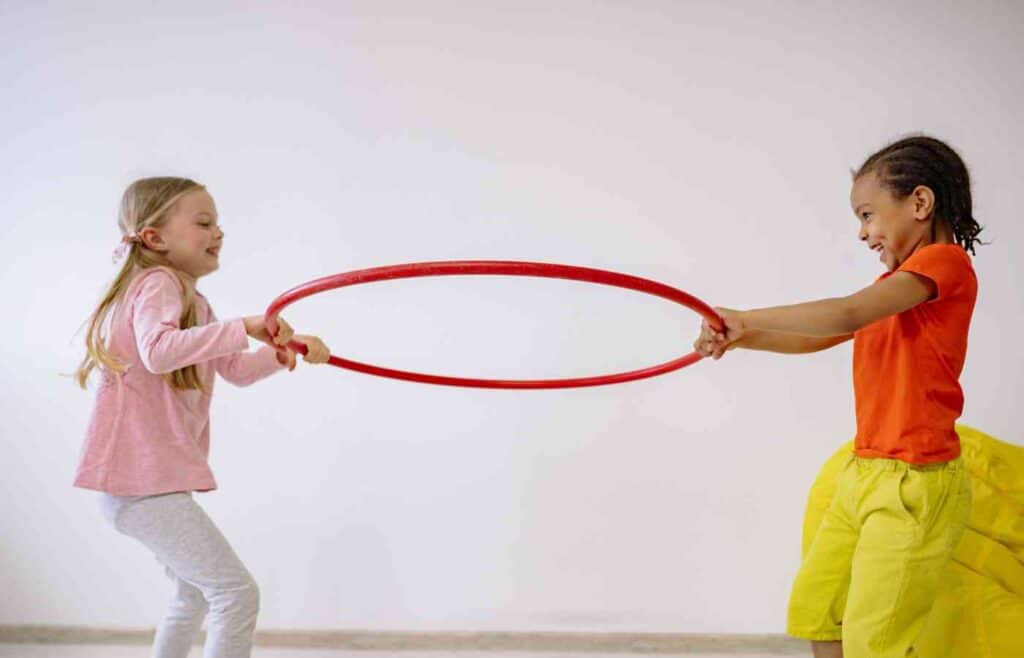
6. Time Yourself on a Hula Hoop
Did you know that the world record for hula hooping is over 100 hours? Hula hoops are so much fun, and a good workout for your core.
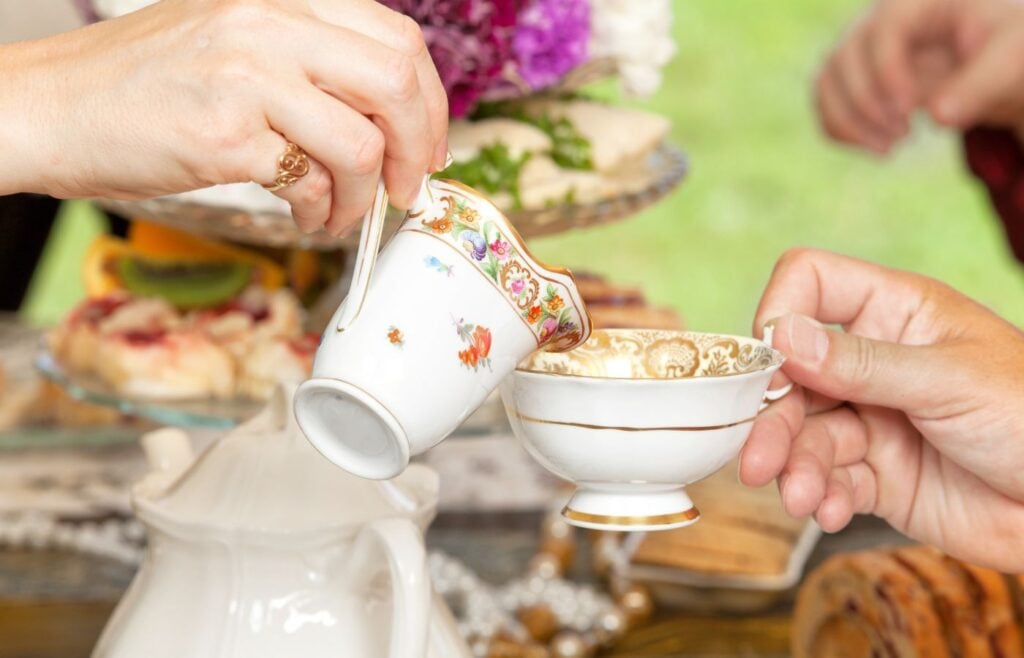
7. Tea Party
Do you have a tea set that hasn’t been used in awhile? A rainy day is the perfect time for a tea party. Invite the whole family!
8. Play Keep It Up
This versatile game used to be one of my favorite things to do when I was bored as a child. Keep it up can be played with a bouncy ball or a balloon. You can play it alone or with multiple friends. You simple try to keep the ball or balloon in the air. See how many touches you can keep it up for! If you are playing with a buddy, you can’t touch it twice in a row. It’s a lot of fun!
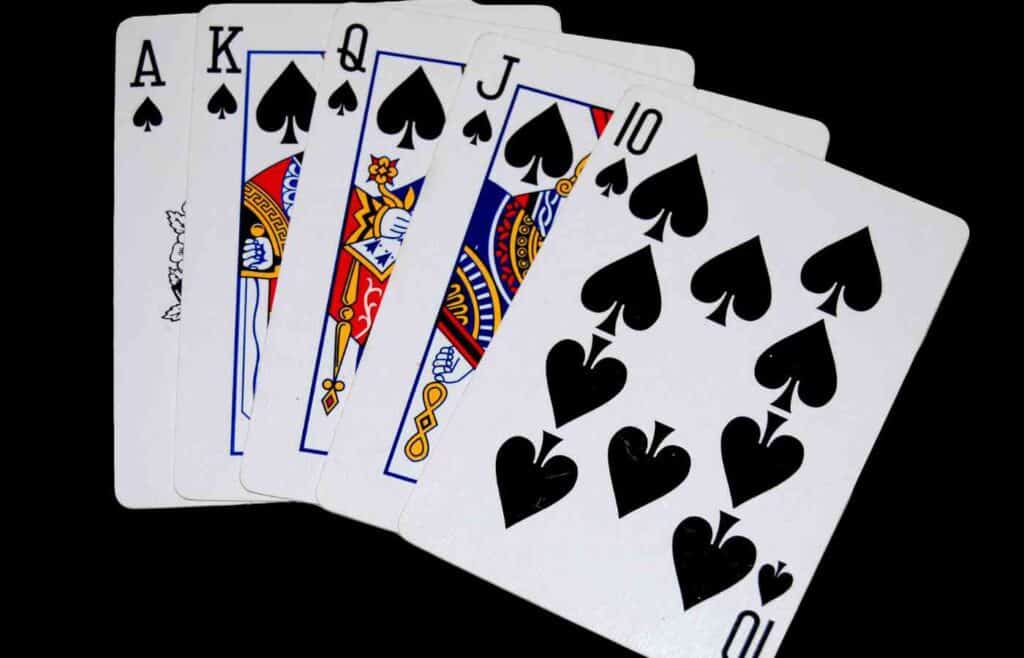
9. Play a Card Game
One of the best ways to pass the time when you’re bored is to play card games. Some childhood classics are war, Peanut Butter (also known as B.S.), Gin Rummy, and Speed. Google around to find your favorite! If you don’t have a partner, engage in some independent play with the game Solitaire.
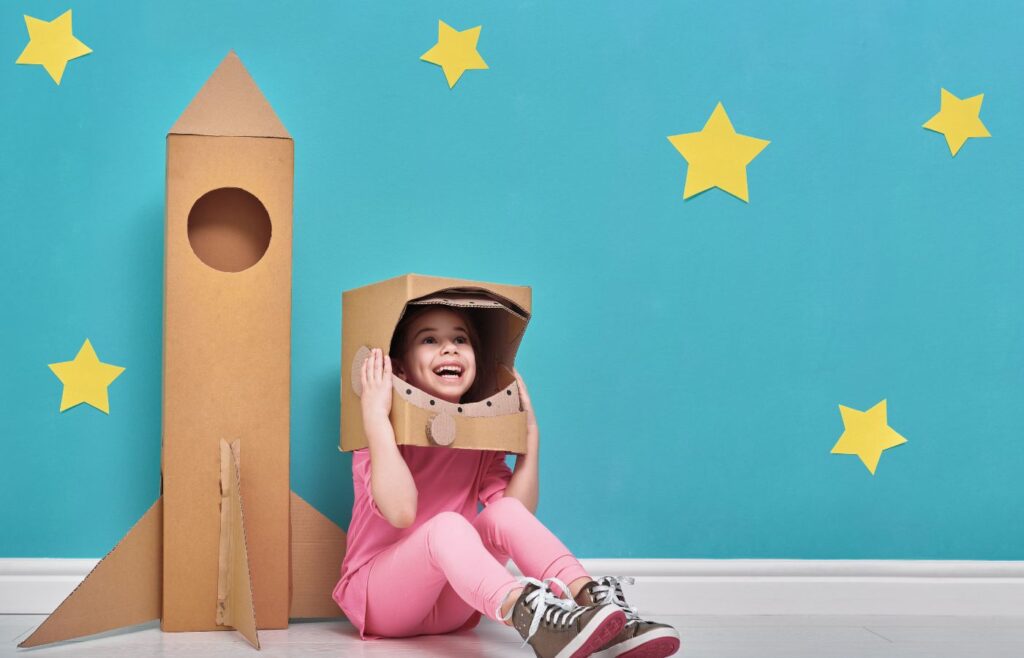
10. Get Creative with Cardboard Boxes
Gather up your Amazon boxes and turn them into new masterpieces. Cardboard boxes can be imaginary cars, robots, houses, ticket booths, and anything else your imagination can dream up.
11. Play a Board Game
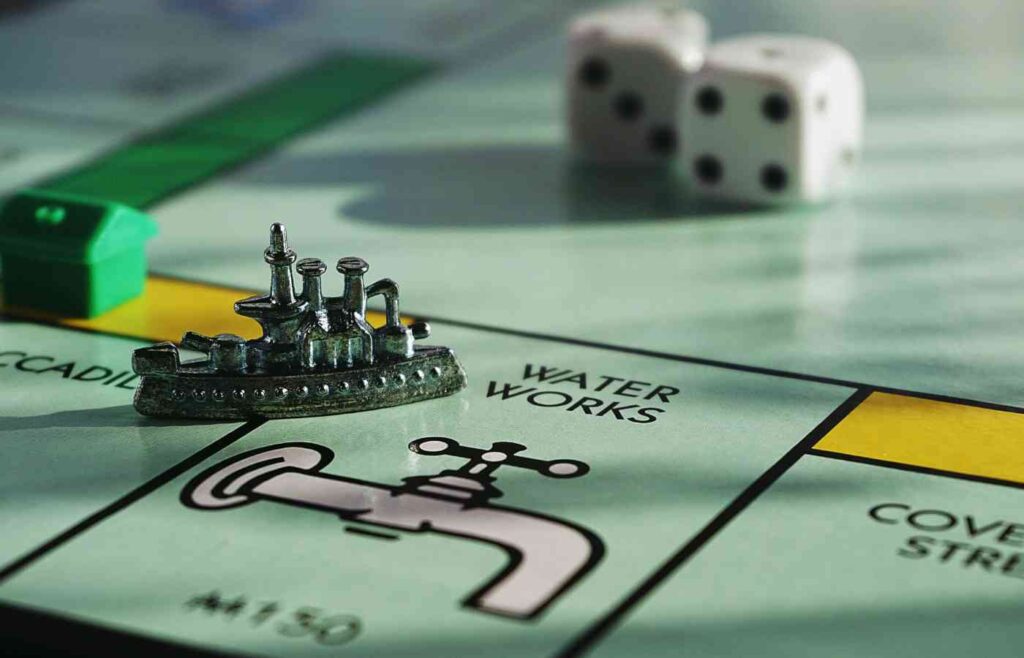
From the classic Monopoly and Trivial Pursuit, to newer favorites like Blank Slate and Apples to Apples, board games have entertained the entire family throughout the decades. Break open the game cabinet, gather around the dining room table, and get started!
12. Create an Obstacle Course
A fun way to stay active on a rainy day is with an obstacle course. Anything around the house can be used to create an obstacle course, including pillows, cones, blankets, hula hoops, and wooden blocks. It’s a great activity to get some energy out and test your ninja skills. Don’t worry if you don’t have a lot of space in your house. Even your living room can be turned into an obstacle course with a little creativity!
13. Make Sock Puppets
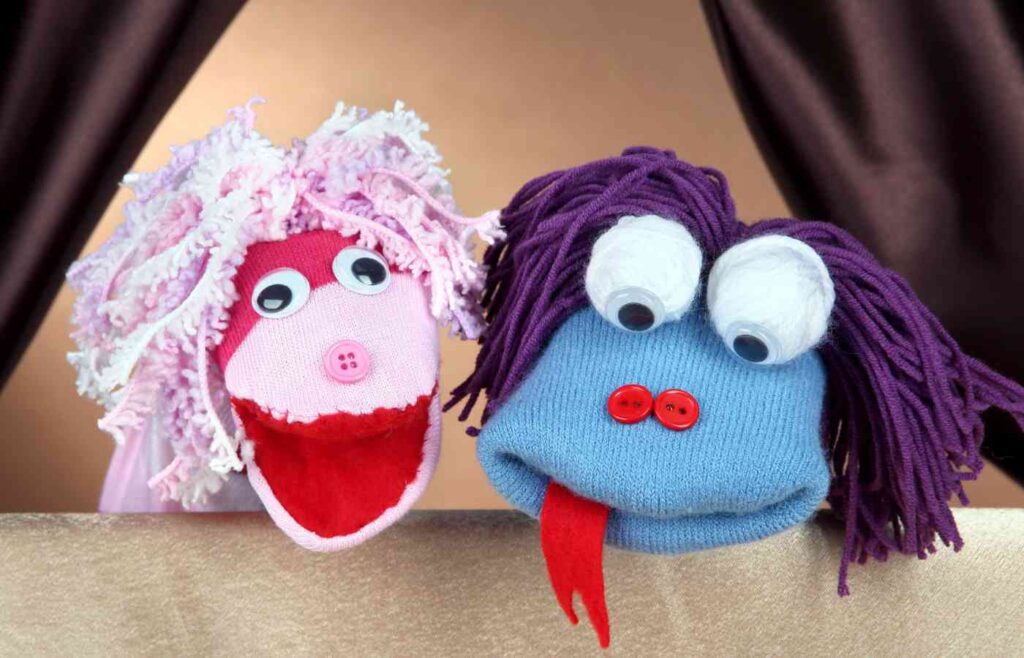
This is one of the best rainy day activities, and sock puppets are so easy to make! Find some clean, long socks around the house. Slide your hand through and grab the end of the sock to form the puppet’s mouth. From here, you can start to envision what your puppet can look like. Use whatever crafts you have on hand to create the sock puppet’s face, hair and clothes.
14. Make Friendship Bracelets
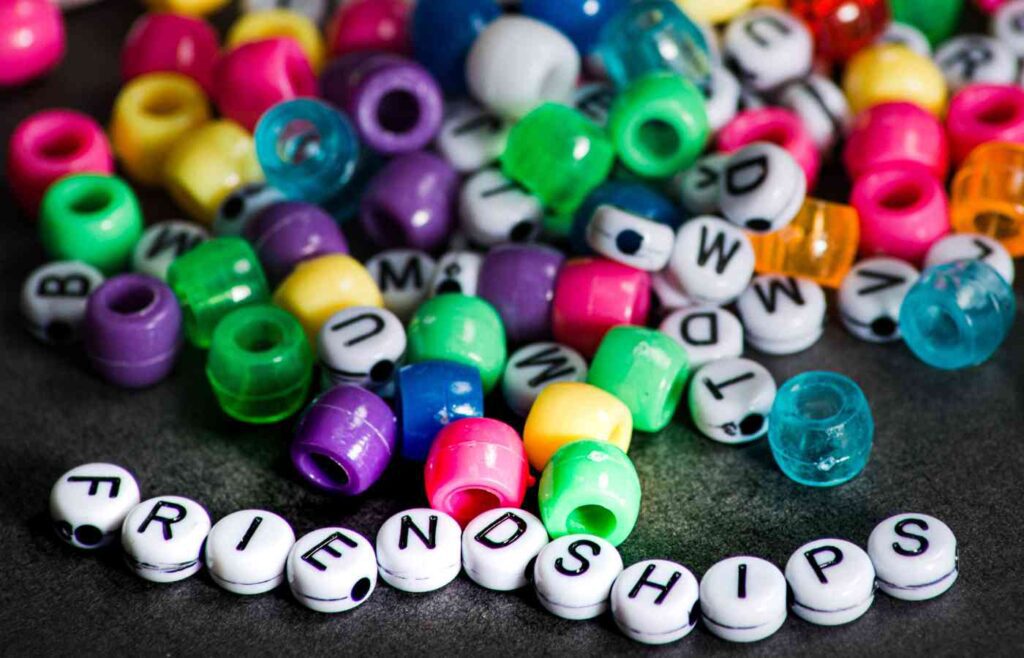
Making friendship bracelets is a great rainy day activity, and it can be a special way of telling someone how much your care about them. You can use string, lanyard, or small rubber bands to create your special gift.
15. Have a Dance Party
Dancing should be a part of every day! Put on a playlist of your favorite songs and boogie down. Maybe you can even choreograph your own dance.
Here are the 100 Best Kids Dance Songs >>
16. Play Hide and Seek
One of the most fun things to do when you’re bored is play hide and seek. There’s nothing quite like the thrill of hiding from someone and trying not to be found!
17. Paint Rocks
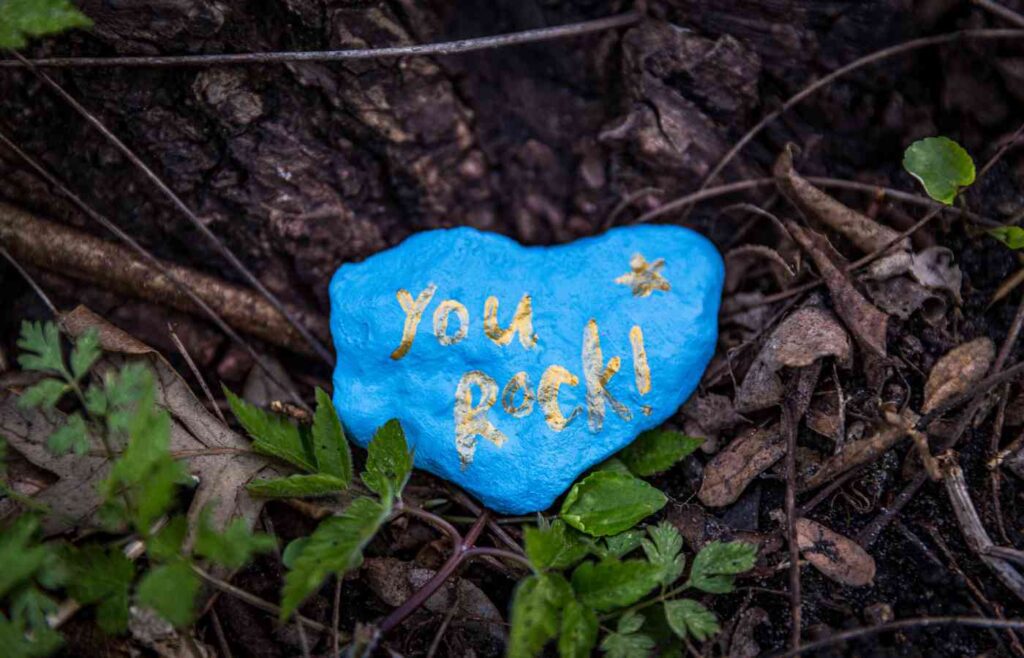
Here’s a painting project with no extra cost required! For this fun activity, look for some rocks that are begging to be painted. Then let your creativity run wild. When the weather clears up, place them outside for people to find!
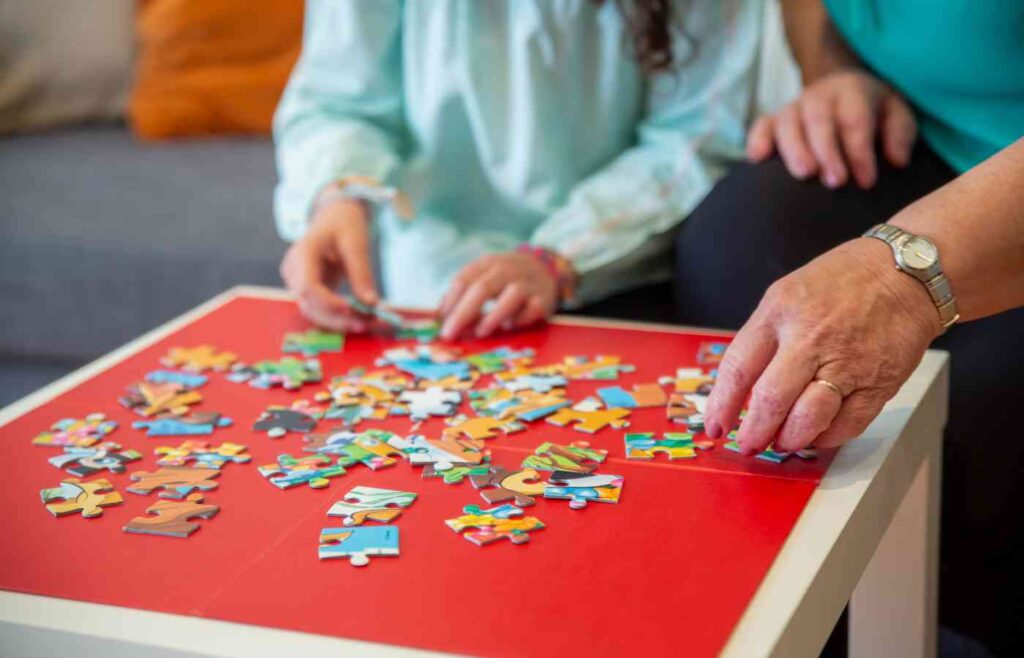
18. Do a Jigsaw Puzzle
Jigsaw puzzles can be the perfect challenge when you’re feeling bored. There are easy puzzles for younger kids, and difficult ones for older children. If you don’t have any around the house, and you don’t want to spend full price, you can often find inexpensive puzzles at places like Good Will.
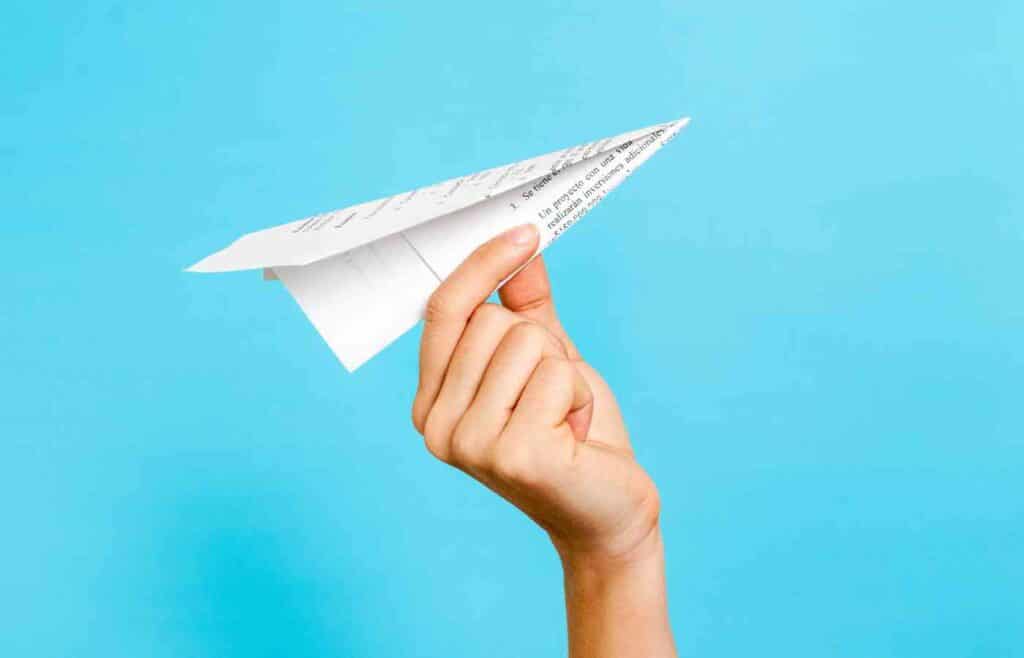
19. Make Paper Airplanes
Make some paper airplanes and see how well you can get it to fly. There are all kind of different designs online. You could even use a bucket to play paper airplane cornhole. Try to see if you can get the airplane to land in the bucket.
20. Create a Time Capsule
Time capsules are a creative way to send a message to your future self. Gather up objects that are symbolic of today’s world (food packaging, magazines, the ribbon you won for swimming, etc.). Some up with some of your own ideas to make it unique to you. Then hide it somewhere and don’t open it for at least ten years!
21. Do a Shape Scavenger Hunt
A scavenger or treasure hunt can be the perfect antidote to a boring day. There are several pre-made indoor scavenger hunts online or you can create your own list of things to find. If you can’t think of anything, make a list of shapes and try to find something in your house that is that shape.
22. Make Homemade Ice Cream
Did you know you can make ice cream at home with ingredients that you probably have around the house? Ice Cream in a Bag – Turn simple ingredients into delicious ice cream.
23. Read a Book
Reading can transport us to totally new worlds, and it’s one of the best things to do when you’re bored. The good news is you don’t even have to spend money on new books. Just head to your local library and check out a few that look good to you.
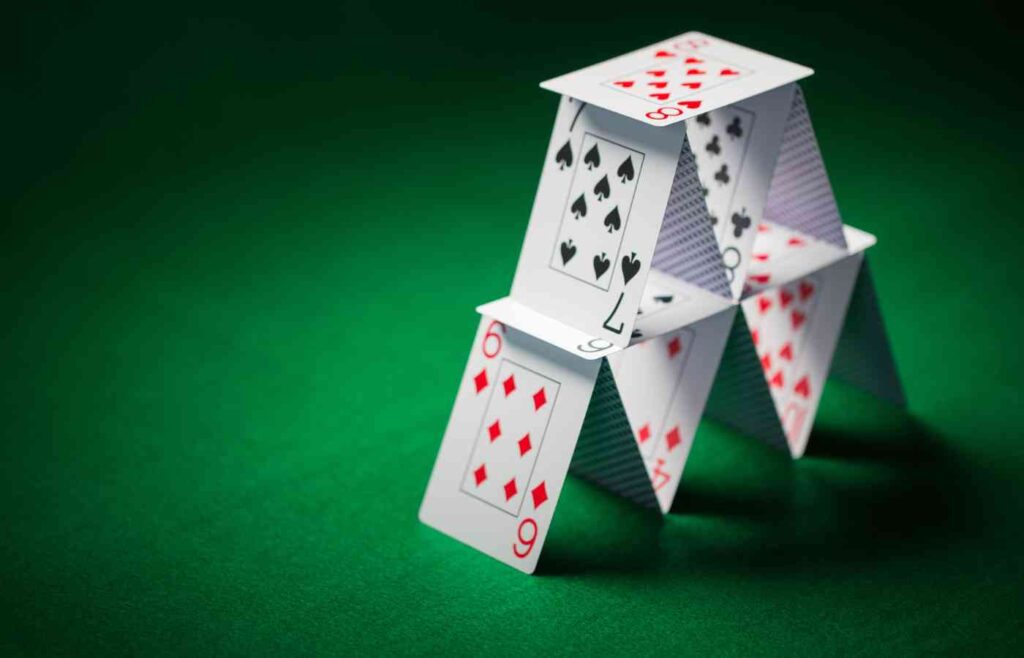
24. Build a Card House.
A card house can take a lot of time to perfect and build, but it’s a satisfying feeling when you get the cards to balance just right.
25. Play Hide & Seek
Bad weather is the perfect reason to bring back this classic game.
26. Build a Block or Magna-tile Structure.
You probably have some building blocks lying around, whether they are wooden, magnetic, or legos. Why not build a whole new world right in your living room?
27. Choreograph a Dance.
No tik-tok required! Just put on your favorite song and plan a dance.
28. Listen to a Podcast.
There are so many great podcasts for kids out there. Pop in your headphones and listen while you take a walk or do some chores.
29. Look Through Old Photo Albums.
Do you parents have old photo albums lying around the house or stored away in the basement? You might be surprised how entertaining it is to look through them. You won’t believe how young your parents used to be!
30. Facetime a Relative.
When’s the last time you talked to your grandparents, aunts and uncles, or cousins? I’m willing to be they would be really happy to get a FaceTime call from you!
31. Do Yoga!
Yoga is a way to gently stretch and strengthen your body. Cosmic Kids is a great place to start if you’ve never done yoga before.
32. Rainy Day Window Art
That’s right! If you have dry erase markers, you can actually draw a picture on the windows. The dry erase marker will wipe right off, so there’s no mess for you.
33. Mud Paint
When the rain clears up, you can do some fun rainy day outdoor activities. There will be lots of mud outside – perfect for painting! Grab your rain boots and some containers you don’t care much about, some plain paper, and a handful of old paintbrushes. Outside, scoop a healthy amount of dirt into each container, and then add a small amount of water and good amount of food coloring. If you don’t have food coloring, this will be just as fun with plain old mud. Some recipes call for dish soap to help prevent stains in clothes, but it’s also optional. You’re ready to mud paint!
34. Make Mud Pies
When the rain clears up, there will be lots of mud outside. Grab some old pots and pans and head outside to make mud pie! Fill the tins with mud and then decorate them with rocks, leaves, and flower petals. You may not be able to eat them, but they sure are fun to look at!
35. Magic Paper Towel Tree
It’s magic! Fold one piece of paper towel in half so that it looks like a book. On the inside of the book, draw a tree trunk and branches, with colorful leaves and fruit. You can add sunshine, blue sky, and anything you fancy! Now, fold your paper towel book so that you can’t see your drawing anymore. Drop it into a bowl of water, and watch how your colorful drawing magically appears! What other spring sketches can you draw?
36. Homemade Lava Lamp
Going for a 70’s vibe? You can make your very own lava lamp right at home.
Overview:
This simple lava lamp experiment is especially a hit with kids ages 4-12 (and beyond!), and it will take their favorite adults back a few decades, too! This easy science activity teaches kids about density.
What You Need:
A clean plastic bottle (or several plastic bottles)
Water
Vegetable Oil
Fizzing tablets (like an Alka-Seltzer tablet)
Food Coloring
Steps:
Fill the bottle up with water about 1/4th full. Pour the vegetable oil into the bottle until is almost full. Use a funnel if you have one. Wait a few moments and watch as the oil and water separates.
Then, add a few drops of your favorite color food coloring. Watch the color make its way through the oil.
The next step is to break your fizzy tablet in half and drop part of it into the bottle. Watch the bubble blobs form.
Finally, if you have a flashlight, turn off the lights and drop in another half tablet. Shine the flashlight through the lava lamp while the blobs are bubbling!
What’s Happening:
The oil floats on top of the water because it is less dense (lighter) than water. The food coloring has the same density as the water so it sinks through the oil and mixes with the water. As the tablet dissolves it creates a gas called carbon dioxide.
Gas is lighter than water so it floats to the top, bringing some color with it from the food coloring. When the air releases from the colored water blob, the water gets heavy again and sinks.
37. Make Pepper Jump
Surface tension is a foundational scientific principle that even young kids can begin to learn about. This simple experience using water, soap, and black pepper will get kids of all ages exploring this useful concept.
What You Need:
black pepper
a plate or bowl
water
liquid soap
Steps:
First, fill the plate with a thin layer of water, less than an inch deep is plenty.
Then, sprinkle the pepper on to the water, covering a much of the water surface as possible. The more pepper, the more fun.
Finally, dip your finger into the liquid soap. Touch the pepper and see what happens!
What’s Happening:
The soap is breaking the surface tension of the water! Surface tension exists in water because the water molecules (the littles pieces of the water) like to stick together.
38. Make Homemade Slime
Overview:
What kid doesn’t love slime? This is one of our favorite science experiments because it’s a sure kid-pleaser! In this basic recipe, you can make some of your own right in your kitchen, and have fun squeezing it with your bare hands all day long. Slime has quickly become one of those classic science experiments that every family should try at least once!
Materials:
Water
-White school glue
-food coloring
-borax
-two bowls
Make Raisins Dance
39. Dancing Raisins
Overview:
Home science experiments don’t have to be complicated. In this very easy science experiment that’s perfect for young kids, you’ll need a few simple ingredients that you probably already have in your household: clear soda, a glass of water, and a handful of raisins. With these simple ingredients, you’ll produce chemical reactions that your kids can watch in real time!
What You’ll Need:
Clear Soda
A clear glass of water
Handful of raisins
Steps:
First, you fill one glass with clear soda, and another glass with plain water or a different liquid that does not have gas bubbles. Then, place the raisins in each glass, and watch how they dance in the glass with clear soda.
The gas bubbles from the soda carry the raisins upwards. When they pop, the raisin sinks again.
What’s happening?
Once the carbon dioxide bubbles reach the surface of the soda they pop and the gas is released into the air. This makes the raisin lose buoyancy and fall back down to the bottom of the glass. This is why the raising acts differently in different liquids.
40. Shine Some Pennies
Overview:
You definitely have some dirty pennies lying around your house, so let’s put them to good use in a simple and fun science experiment that even young kids can enjoy. Pennies are copper, and they are often in circulation for years (yuck!), so they often appear very tarnished. In this experience, you’re going to see if soap or vinegar (or other liquids) do a better job at cleaning the exterior of the dirty copper penny.
What You’ll Need
dirty pennies
2 paper cups
Vinegar
Dish soap
Paper towel
Other liquids from around the house (ketchup, soda, etc.)
Steps:
First, make some guesses about which liquid will make the penny the shiniest.
Then, put each penny in a paper cup. In one up, pour in enough vinegar to totally cover the dirty penny. In the other cup, pour in enough dish soap to totally cover the dirty penny.
Wait about ten minutes. A
After ten minutes, take the pennies out, rinse them in water, and rub them with a paper tower. Now compare the pennies and see how clean they got!
Lastly, try it with other liquids from around the house.
What’s Happening:
Pennies get dull over time because the copper on the exterior reacts with oxygen from the air. The copper and oxygen form copper oxides that make the penny dull and dark.
The acetic acide in the vinegar dissolves these chemicals and leaves the penny looking new and shiny.
Dish soap is great for cleaning lots of things, but it can’t dissolve copper oxides.
41. Mini Volcanos
Overview:
This super easy baking soda and vinegar volcano eruption is a real crowd-pleaser for kids of all ages, and your kids will be begging to do it over and over again!
All you need is a few very basic household ingredients, and your colorful volcano will be erupting in no time. It only takes about three minutes to prep.
If you want this to be a no mess science experiment, plan to do it outside on the dirt or on rocks.
Ingredients
Plastic cup
Water
3-4 Tbs of baking soda at least
1 tsp of dish soap
Food coloring (or washable paint if you want to avoid staining)
1 cup (8 oz) of Vinegar
Steps:
First, combine your base ingredients by putting the water inside of the plastic cup and filling it about 2/3 full.
Then add the baking soda, dish soap, and a little bit of food coloring or washable paint. Using washable paint instead of food coloring will help you avoid staining.
Stir the ingredients together.
Then, pour in the vinegar until it starts foaming and pouring out of the cup.
Repeat as necessary with more colors. Your kids will definitely be asking for more.
What’s Happening:
The “lava” bubbles that erupt are filled with carbon dioxide. The carbon dioxide is a gas that forms when an acid — the vinegar — reacts with a base — the baking soda.
42. Water Cycle In A Bag
Overview:
This is one of the best science experiments to teach your kids about the water cycle, and it’s so easy to do!
Materials:
-Zip lock bag
-permanent marker
-water
-blue food coloring
-clear tape
Steps:
First, use a permanent market to draw a sky on the upper half of your ziplock bag. Include clouds and the sun.
Next, fill a cup with water and add a few drops of blue food coloring. This will help the water be more visible to your kids. Mix it up until it’s a striking blue color.
Then, pour the water into the bag and zip it tight so no water escapes.
Now, hang your bag up on a window that gets a lot of sunshine. Affix it with tape on the corner to ensure it doesn’t fall.
In a couple of hours, you can check on your bag, and then check again in about a day. You will eventually start to see drops of water sticking to the side of the bag. Some will be in the “clouds” and other drops will be coming down like rain.
What’s Happening?
The sun is heating up the water in the bag, which turns the water into a gaseous state in a process called evaporation. This happens in our atmosphere, too. Because the water is in a bag and has nowhere to go, it sticks to the sides of the bag, turning back into a liquid. This is called condensation. This experiment demonstrates the power of the sun to transform water into different states.
43. Sugar Water Rainbows
Overview:
This science experiment is especially meant for older kids, but it can me modified for kids of all ages. Your kids will love this colorful experience about density and buoyancy, and all you need are some common household ingredients.
What You Need:
- food colorings (preferably in rainbow colors including red, orange, yellow, green, blue, purple)
- water
- a clear straw
- sugar
- 6 cups
- tablespoon
Steps:
- First, fill each of the cups with the same amount of water.
- Next, add the food coloring, one color in each cup, preferably in rainbow order.
- Line the cups up next to each other.
- In the first cup, do not add any sugar at all.
- In the second cup, add one tablespoon of sugar.
- In the third cup, add two tablespoon of sugar.
- In the fourth cup, add three tablepoons of sugar, and so on.
- Stir each mixture until all the sugar is dissolved in each glass.
- The next step is to make a sugar rainbow by placing the end of the straw in the first cup (the cup with no sugar), only about a half of an inch.
- Cover the top of the straw with your thumb before lifting it out of the water so that the water does not fall out of the straw.
- Now dip the straw into the second cup (1 tablespoon sugar). This time, insert it deeper so that the end is one inch below the water level. In one quick move, release the thumb and recap again. Now you should have two layers of color.
- Keep dipping the straw into each solution from the one with the least sugar to the one with five tablespoons of sugar. Each time, the straw is inserted half an inch deeper.
What’s happening?
Density is the amount of substance (mass) within the volume occupied by the object. If two cups have the same amount of water (i.e. same volume), the one with more sugar is denser than the one with less sugar.
Buoyancy is determined by relative density. The solution with less density floats above the solution with higher density. That is why the color don’t mix.
Sugary water has higher density than plain water. The solution with more sugar has higher density than the one with less sugar. If you have inserted the straw in the solutions from the least sugar to the most sugar, then the color don’t mix and you have a sugar water rainbow.
44. DIY Parachute
Overview:
You can learn about gravity by making a DIY parachute for a light-weight toy. The parachute is easily made from materials around your house, and you can experiment with different strategies and objects.
Materials:
- Plastic Bag (i.e. grocery bag)
- Yard/String
- Paper Cup
- Scissors
Steps:
First, use the scissors to remove the handles from the plastic bag. Next, poke four holes around the plastic bag so that they are the same distance apart and on opposite sides of the bags.
Then, cut four holes into the rim of the paper cut.
You’ll also need to cut four pieces of yarn, 10-12 inches long. Thread one piece of yarn through the hole in the plastic cup and tie the yarn to the cup with a knot. Repeat with all four strands of yarn in the remaining holes.
Next, thread the other end of the pieces of yarn through the hole in the plastic bag and tie a knot.
Finally, personalize and decorate your cup with stickers, paint, crayons or markers.
Now it’s time to find a toy that is going to take a ride in your parachute. Launch your parachute into the air and see what happens!
Experiment with putting different objects into the paper cup and see how it affects the parachute’s effectiveness. Does the parachute flight time increase or decrease?
You can also try creating the parachute with different materials to replace the paper bag, such as a paper towel or napkin, and see how that affects the performance.
45. Make Invisible Ink
In this fun experiment, your kids can write secret messages that they will learn how to reveal scientifically. You need only basic materials, and it’s sure to be a big hit.
Materials:
- Cotton swab
- lamp or light bulm
- plain white paper
- bowl or cup
- lemon juice
Steps:
- First, squeeze the lemon juice into a bowl or cup and mix in a few drops of water.
- Next, dip the cotton swap into the lemon juice / water mixture, and write a secret message or draw a secret picture onto the plain white paper.
- Wait a few moments for the paper to dry and for the juice to become invisible.
- Finally, hold the paper close to a light bulb or lamp and reveal your secret messages.
What’s Happening?
Lemon juice contains carbon compounds that are colourless at room temperature. The heat source (in this case the light bulb) breaks down the compounds and thereby releases the carbon. The carbon oxidizes when it comes into contact with the air. It then turns brown, making your invisible message visible under the hot light bulb.
46. Dry Erase Marker Magic
Overview:
In this fun and easy experiements, you’ll watch your very own drawing come to life and move around!
Materials:
- Glass Plate
- Dry Erase Marker
- Water
Steps:
- First, draw a picture on the plate with the dry erase marker. Try a stick figure to start!
- Then, slowly pour water onto the plate. You’ll see the drawing slowly lift up.
- Finally, make your drawing move around by swirling around the water.
What’s Happening?
The marker is a mixture of ink pigments and alcohol. When you pour the water on it, the alcohol dissolves, and the ink pigments become a solid that slides off the glass when it gets wet.
47. Homemade Play Dough
Overview:
This is a classic DIY project, and kids of all ages will love it.
Materials:
- 3 cups of flour
- 1.5 cups of salt
- 6 teaspoons cream of tartar
- 3 tablespoons of oil
- 3 cups of water
48. Flying Ping Pong
Overview:
Your kids will love this flying ping pong trick, and there are only two things you need.
Materials:
Ping Pong
Hair Dryer
Steps:
First, make sure your hair dryer is on a cool setting.Then, hold the ping pong above the nozzle and turn on the air. When you let the ping pong go, it should float! Next, try it on different settings. Try to see how far you can tilt your hair dryer before the ball drops.
49. Bird Feeder Fun
Overview:
In this simple science project, you’ll learn where birds like to have their meals.
Materials:
-Pipe Cleaner
-Cheerios
Steps:
Place cheerios on a pipe clean and make a simple circle. Place it out for the birds to eat.
To experiment, place different bird feeders in different places and see if it makes a difference for how much gets eaten.
You could also make your bird feeder into different shapes to see how the birds prefer it.
50. Make a Homemade Rain Gauge
Overview:
It’s super simple to make a rain gauge from a soda bottle and track your are’a rain water!
Materials:
Soda Bottle
X-acto knife (with parental supervision)
Steps:
This is probably my favorite rainy day activity. If you don’t have a rain gauge, then the next best thing is to make your own! Cut the top off of a soda bottle and invert the top so that the rain water funnels into the bottle. You may want to secure it with duct tape. Next, put on your rain gear and place it outside in a spot where it can collect rain water.You’ll want to secure it so it doesn’t fall over. Then, begin measuring the rain water each day!
51. Rubber Band Guitar
Overview:
Tap into your musical side and explore sound with this simple rubber band guitar.
Materials:
Paper or plastic cup
Rubber bands
Steps:
First, wrap your rubber bands of different sizes around the cup so that the rubber bands act as strings over the hole of the cup. Then, pinch the sides of them together as best you can and tap them around the sides of the cup. See what sounds they make, and experiments with rubber bands of various sizes to see what sounds they make!
52. Rainbow Bubble Snakes
The only incredients you need for Rainbow Bubble Snakes are a plastic bottle, some duct tape, a sock without a match, and dish soap. SCORE! I have literally all of these things, and I’m sure you do, too. As usual, it’s more fun with food coloring.
53. Three Ingredient DIY foam paint
To make this fun DIY paint, you just need shaving cream, glue, food coloring, and a plastic bag. After you squish the ingredient together, you can make some colorful and unique art!
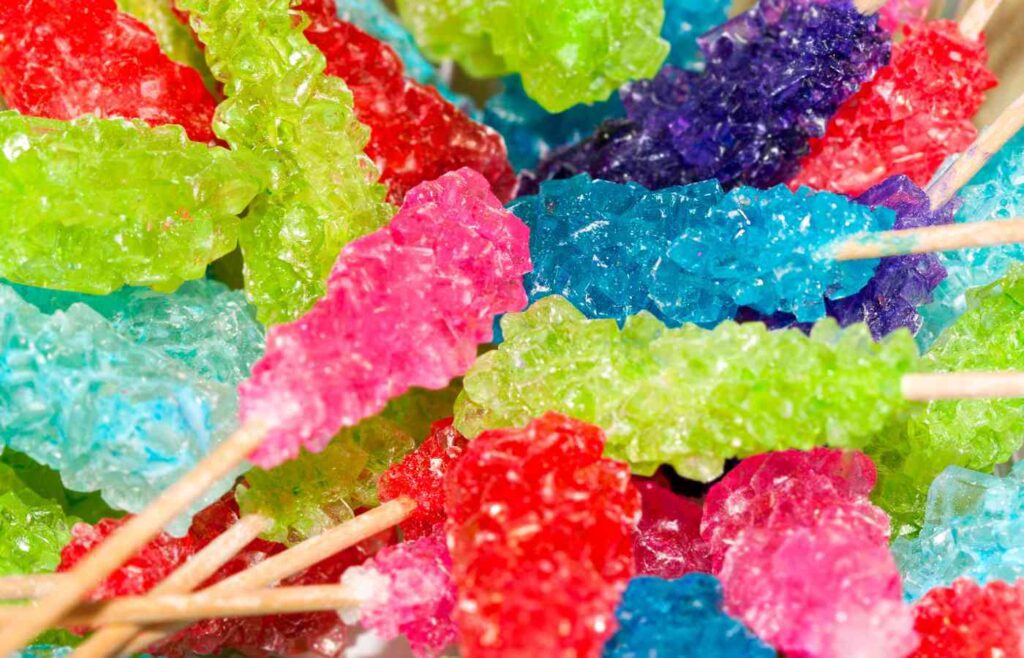
54. Rock Candy Experiment
Grow colorful rock candy in a glass!
55. Giant Dish Soap Bubbles
Make a giant bubble with household ingredients.
56. Windowsill Trash
Demonstrate how the heat of the sun helps trash decompose.
57. Balloon Magic
Blow up a balloon without blowing, using vinegar and baking soda.
58. Tornado in a Bottle
Create a cyclone in a bottle in this classic, simple experiment.
59. Step Through an Index Card
Amaze your kids by stepping through an index card that’s been strategically cut.
60. Frozen Bubbles
Find out what happens when you blow bubbles in freezing temperatures.
61. Make Butter
Shake cream and turn it into butter!
62. Map Your Taste Buds
Learn about your taste buds in this easy mapping activity.
63. Make a Rainbow
See how you can easily create your own rainbow.
64. Soap Boats
Explore density with this easy DIY boat-making activity.
65. Egg Drop Project
See if you can build a contraption to protect an egg from breaking.
66. Growing Gummy Bears
Watch gummy bears grow before your eyes.
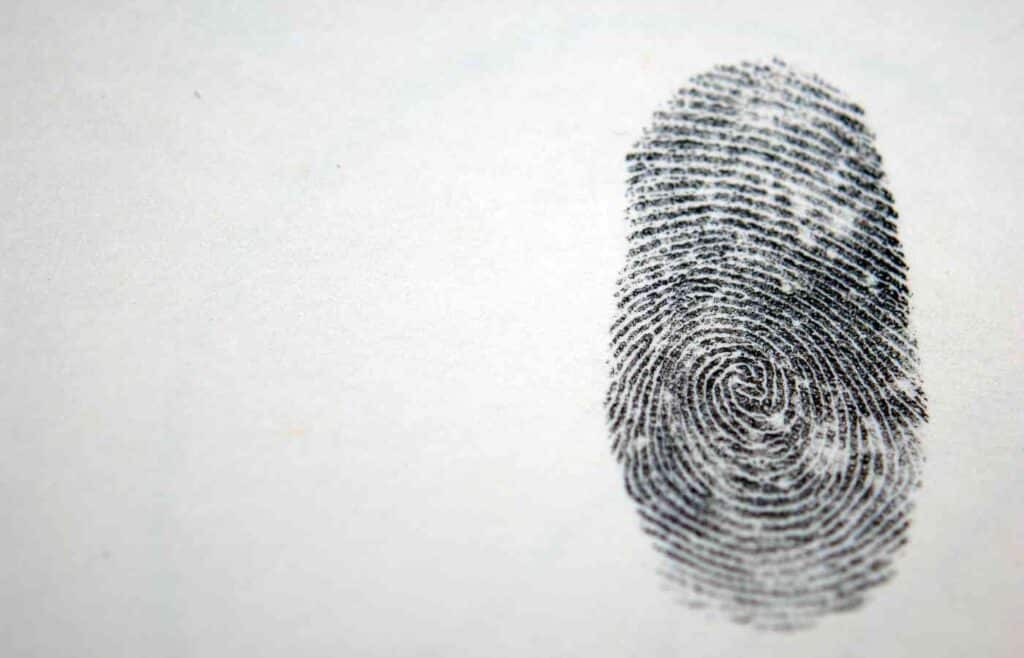
67. Fingerprinting
Dive into the infinite world of fingerprints with a no. 2 pencil and paper.
68. Homemade Bouncy Balls
Make your own bouncy ball toys with household ingredients.
69. Dancing Corn Experiment
Explore and investigate carbon dioxide by making corn dance.
70. Big Stick Balance
This surprising experiment will teach you more about balance.
71. Upside Down Reflection
All you need is a kitchen spoon to learn about the principles of reflection.
72. Exploding baggie
Use a simple chemical reaction to explode a plastic zip close baggie.
73. Flame-Proof Balloon
Use cold water to make a balloon resistant to a fire’s flame!
74. Rotten Banana Balloon
Use that rotten banana in your kitchen to blow up a balloon. You can also try it with a lemon. (Here’s the Lemon Balloon Trick.)
75. Mouth-Foaming Fun
Experience a chemical reaction first hand while brushing your teeth.
76. Foot Fat Experiment
Compare the levels of fat in different foods with this simple experiment.
77. Smashing Seashells
Discover how to easily smash seashells with vinegar.
78. Shaving Cream Rain Clouds
Learn about the water cycle with shaving cream. The shaving cream represents the rain cloud and the water is the atmosphere.
79. Water Bending Trick
Learn how to bend water with one simple thing you have lying around your house.
80. Dry Paper Experiment
See how you can magically dunk paper in water and not make it wet.
81. Bending Straw Illusion
Learn about light refraction in this quick and simple experiment.
82. Leak Proof Baggie
Stab sharp pencils through a baggie filled with water, without any water escaping.
83. Balloon Pop (Not!)
Stick a needle into a balloon without it popping.
84. Magic Napkin
Learn about inertia with a napkin and a plastic cup filled with water.
85. Water Fireworks
Create fireworks in a glass of water using this simple experiement with household ingredient.
86. Liquid Sandwich
Learn about density with water, oil, and honey.
87. Oil & Water
In this classic science experiment, find out if oil and water mix.
88. Talking String
Learn about sound waves and make a string “sing” by using one simple button.
89. Noisy Paper
Create a loud vibration noise with just two pieces of computer paper.
90. Layering Liquids
See how liquids can stack on top of each other according to density.
91. Naked Egg Experiment
Dissolve an eggshell with vinegar and see the membrane below!
92. Egg Teeth
Explore how sugar affects teeth in this easy experiment.
93. Moldy Break Experiment
See how important it is to wash your hands in the viral science experiment.
94. Write a Letter
You can really brighten someone’s day with a hand-written note, and a rainy day is the perfect time to do this.
95. Make Shadow Shapes
Turn off the lights and grab a flashlight! Take turns making shadow shapes on the walls, with your hands.
96. Produce a Family News Show
Set up a family News Desk at the kitchen table, and produce a family news show.
97. Have an Indoor Picnic
Spread out a blanket on the living room floor and enjoy an indoor picnic together with cheese and crackers, fruit, and treats.
98. Make a Flippy Book
Have you ever seen a book that you flip through and it seems to move like a cartoon? A rainy day gives you lots of time to work on a fun project like this.
99. Search for Frogs
Put on your rain boots and rain gear, and looks for creatures who love the rain like frogs and turtles.
100. Search for Rainbows
The best time to find a rainbow is right after it rains. Happy exploring!
We hope you loved this list of fun rainy day activities, and that we chased away your rainy day blues!
Related Posts:
100 Easy Science Experiments to do at Home
50 Handmade Crafts For Kids To Make & Sell
Calie Herbst, Editor-in-Chief of Milwaukee With Kids, has spent over a decade combining her experiences as a parent of three to create a hub for Milwaukee’s family adventures.
Her decade-long teaching career in Milwaukee Public Schools and academic background, including a Master’s in Teaching from Marquette University and dual B.A.s in Sociology and Spanish from the University of Wisconsin – Madison, fuel her passion for inclusive and engaging family content.
Calie is also a recognized voice in local media, contributing to WISN Channel 12 News, WTMJ Wisconsin Morning News, Fox 6’s Real Milwaukee, and B93.3.
Discover more about Calie’s journey and editorial approach on her About Page and Editorial Policy Page.