

Tie-dye shirts are timeless, creative, and so much fun to make. But if you want to keep those vibrant colors popping and avoid ruining your masterpiece, knowing how to wash a tie-dye shirt properly is key. Whether you’re a first-time tie-dyer or a seasoned craft pro, this simple guide will show you exactly how to care for your tie-dye creations.
Hi, I’m Calie—parent of three, former camp counselor, and craft lover extraordinaire. I’ve made my fair share of tie-dye shirts over the years, and I’m here to share the best way to wash your tie-dye shirt so it doesn’t fade, lasts for years, and doesn’t stain your other clothing.
Here’s a quick summary of the step-by-step process:
- Let it steep for 24 hours.
- Rinse with cold water.
- Soak in cold water with vinegar or soda ash.
- Remove the rubber bands (the big reveal!).
- Wash in hot water with mild detergent.
- Air dry for long-lasting color.
🎥 For a visual walkthrough of this process, check out this helpful video:

Ready to dive into the details? Let’s get started with Step 1!
Step 1: Let Your Tie-Dye Steep for 24 Hours (Patience is Key!)
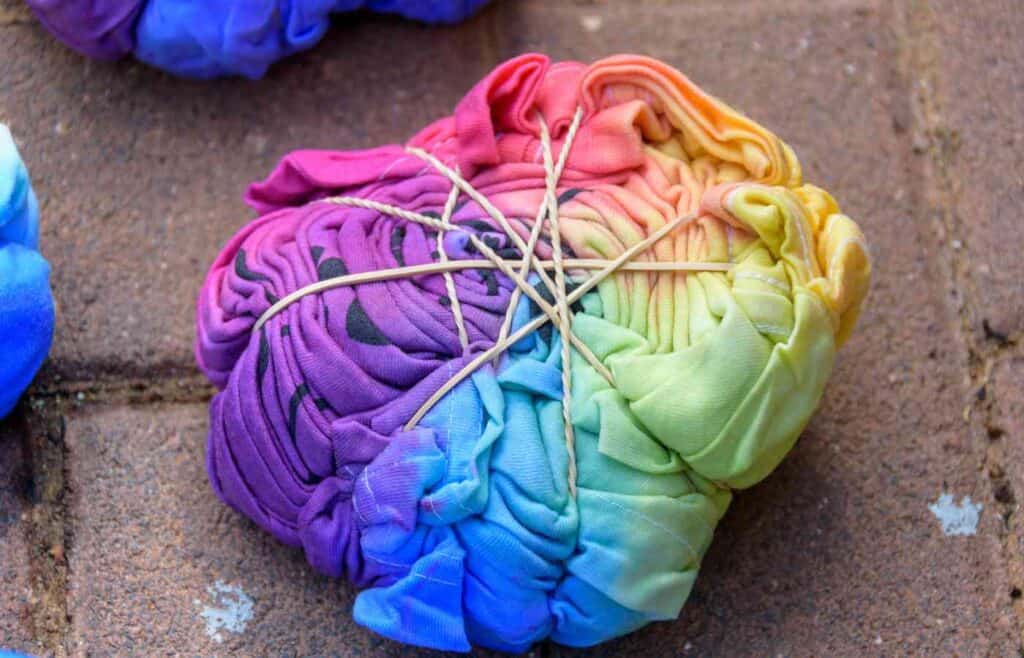
After dyeing your shirt, resist the urge to peek! Leave it wrapped in plastic or a plastic bag with the rubber bands still on for at least 24 hours. Fiber reactive dyes need this time to bond with the fabric. This chemical reaction is what gives tie-dye its bright, long-lasting colors.
💡 Pro Tip: If you’re short on time, let it sit for at least 12-16 hours, but overnight is ideal for the best results. The longer you wait, the more vibrant your colors will be!
🎨 Love tie-dye? While you’re waiting, get inspired for your next project with these Easy Tie-Dye Patterns for Kids—fun and simple designs that are perfect for all ages!
Step 2: Rinse Loose Dye with Cold Water
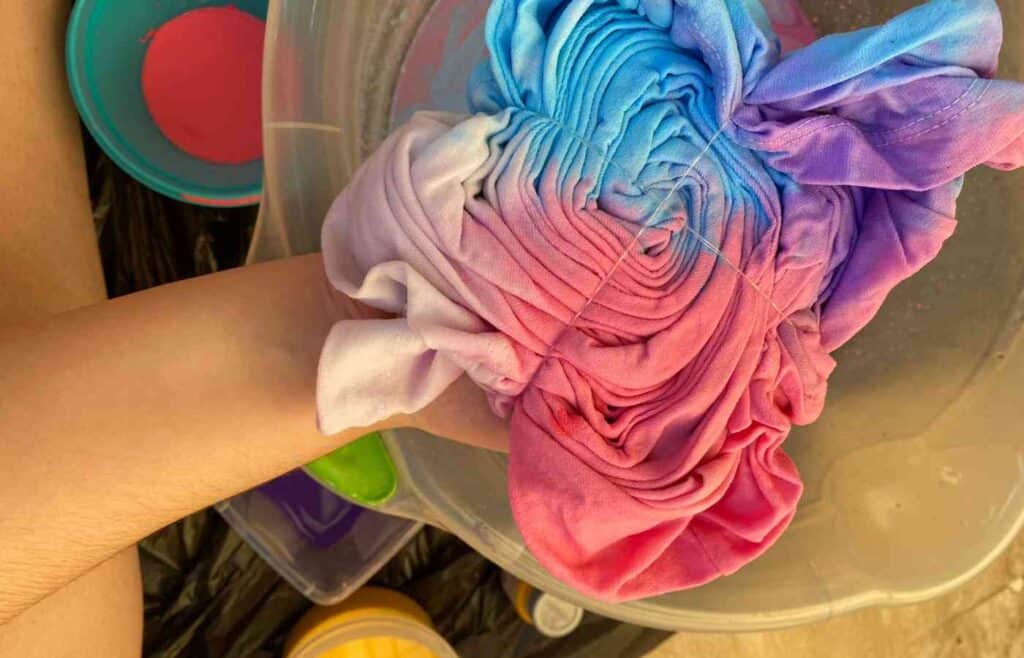
Once your tie-dye has steeped, it’s time to rinse out the loose and excess dye. Put on some rubber gloves and wear protective clothing to avoid stains on your skin or other items.
How to Rinse:
- Leave the rubber bands on the shirt.
- Rinsing in a tub or bucket of cold water (changing the water repeatedly until it’s mostly clear).
- Rinse the shirt alone to avoid staining other clothes.
💡 Three Methods for Rinsing:
- Washing Machine: Use the rinse or spin cycle.
- Utility Sink: Hand-rinse under cold water.
- Outdoor Hose: Place the shirt on a flat surface and spray with a hose.
Step 3: Set the Dye with Vinegar or Soda Ash
If you pre-soaked your shirt in soda ash before dyeing, you may skip this step. However, adding a vinegar or soda ash soak after dyeing can act as an extra layer of protection for vibrant, long-lasting colors.
How to Set the Dye:
- Mix 1-2 cups of white vinegar or soda ash into a gallon of cold water.
- Submerge your tie-dye shirt (alone!) in the mixture for 30 minutes.
- Swish it around gently to ensure even saturation.
💡 Why This Works: Vinegar and soda ash help seal the dye into the fabric, making the colors more resistant to fading during future washes.
Soda Ash vs. Vinegar: What’s the Difference?
- Soda Ash: Best for cotton, rayon, or other plant-based fabrics. Use as a pre-soak before dyeing (1 cup per gallon of water) to ensure vibrant, long-lasting colors. If skipped, it can also be used after dyeing for extra color setting.
- Vinegar: Ideal for silk, wool, or protein-based fabrics. For cotton, it can be used as an optional post-dye soak (1-2 cups vinegar per gallon of water) for added protection but is less effective than soda ash.
💡 Quick Tip: For cotton tie-dye, soda ash is your best option for bold, fade-resistant colors.
Step 4: Remove the Rubber Bands (The Big Reveal!)
This is the moment you’ve been waiting for—the big reveal! Carefully remove the rubber bands and admire your creation.
Whether you used a spiral, bull’s-eye, crumple, or heart-shaped design, now is the time to see how your masterpiece turned out. Need more ideas? Here are some amazing Indigo Tie-Dye Patterns and techniques to inspire your next project.
After removing the rubber bands, give the shirt one final rinse in cold water and wring it out gently.
Step 5: Wash Your Tie-Dye Shirt Properly

For the first wash, it’s critical to use hot water and wash the shirt alone. Hot water helps set the dye, while washing it alone prevents the loose dye from staining other clothes.
Note: Hot water is only necessary for the first 1-2 washes. Afterward, cold water should be used for future washes to prevent fading.
How to Wash:
- Use a small amount of mild laundry detergent (no fabric softener!). Use a detergent that’s free of bleach or optical brighteners, as these can dull the colors over time. Eco-friendly or color-protecting detergents are ideal.
- Set the washing machine to the smallest load size and the hottest water temperature.
- Wash the shirt on a normal cycle.
💡 Pro Tip: After the first wash, repeat this step 1-2 more times to remove any remaining loose dye.
Step 6: Air Dry for Vibrant Colors

Air drying is the best way to preserve the vibrant colors of your tie-dye shirt. Hang it up in a sunny spot and let the breeze do the work. Avoid using a dryer, as high heat can fade the colors and shrink the shirt.
If you are in a humid climate and/or cannot air dry easily, then you can use the dryer on the lowest heat setting, but you should turn the shirt inside out to protect the design.
Helpful Hints for Washing Tie-Dye Shirts
- Wash Alone: Wash your tie-dye shirt by itself for the first 3-5washes to avoid staining other clothing. Test your shirt for excess dye before washing it with other clothes by blotting a damp paper towel on the shirt to see if any dye transfers.
- Wear Gloves: Protect your hands from loose dye during the rinsing process.
- Use Cold Water: Cold water helps set the dye during the rinsing and soaking stages.
- Avoid Fabric Softeners: They can break down the dye and dull the colors.
- Turn Inside Out: For future washes, turn your shirt inside out to protect the design.
Tie-Dye Kits & Supplies You’ll Love
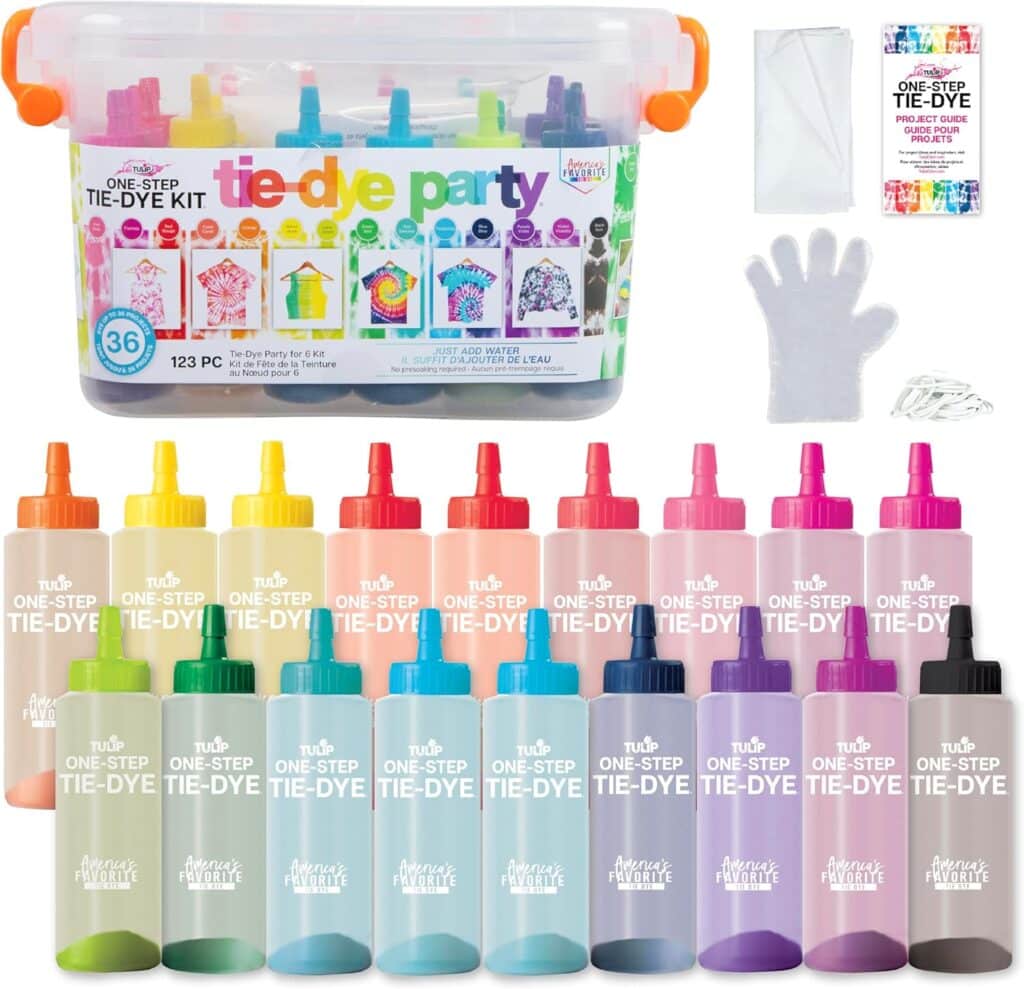
Looking for the best tie-dye kit? Try this All-in-One Tie-Dye Kit, which includes everything you need for up to 36 projects. Perfect for parties, this kit comes with 18 vibrant colors and an easy-to-follow guide to create 8 unique designs.
FAQs About Washing Tie-Dye Shirts
A: Not initially! For the first 2-3 washes, always wash your tie-dye shirt by itself to avoid staining other clothing. After the colors have fully set and excess dye has been removed, you can safely wash it with similar colors.
A: Ideally, let your tie-dye shirt steep for 24 hours to ensure the colors bond properly with the fabric. If you’re in a rush, aim for at least 12-16 hours, but the longer you wait, the more vibrant the results.
A: To prevent fading:
Set the dye using soda ash (preferred) or vinegar.
Use cold water for rinsing and future washes.
Avoid fabric softeners and harsh detergents.
Always air dry or use low heat in the dryer.
A: Soda ash is the best option for cotton and other plant-based fabrics. It raises the pH, helping fiber-reactive dyes bond better to the fabric. Vinegar is more effective for protein-based fabrics like silk or wool but can also be used as a backup for cotton if soda ash wasn’t used.
A: Air drying is the best way to preserve vibrant colors. If you must use a dryer, turn the shirt inside out and set it to low or medium heat to reduce the risk of fading or shrinking.
A: Use a mild detergent that’s free of bleach, optical brighteners, or fabric softeners. Eco-friendly detergents or those designed for bright colors are great choices to maintain the vibrancy of your tie-dye.
A: After rinsing, blot your shirt with a damp paper towel. If dye transfers to the paper towel, it’s not yet safe to wash with other clothes. Repeat the washing and rinsing process until no dye bleeds.
A: Polyester and synthetic fabrics don’t absorb fiber-reactive dyes as well as cotton. If you want to dye synthetic materials, look for dyes specifically formulated for synthetic fabrics, like Rit DyeMore.
A: Yes, soaking cotton fabrics in soda ash before dyeing is the most effective way to achieve vibrant, long-lasting colors. If you skipped this step, a soda ash or vinegar soak after dyeing can still help set the colors.
A: Wash your tie-dye shirt by itself for 3-5 washes or until no excess dye bleeds during washing. After that, you can safely wash it with similar colors.
Conclusion: Keep Your Tie-Dye Vibrant
Tie-dye shirts are more than just clothing—they’re wearable works of art. With these simple care tips, your tie-dye creations will stay as vibrant and beautiful as the day you made them.
Did this guide help you? Check out our related posts for more tie-dye inspiration.
Related Posts

Calie Herbst, Editor-in-Chief of Milwaukee With Kids, has spent over a decade combining her experiences as a parent of three to create a hub for Milwaukee’s family adventures.
Her decade-long teaching career in Milwaukee Public Schools and academic background, including a Master’s in Teaching from Marquette University and dual B.A.s in Sociology and Spanish from the University of Wisconsin – Madison, fuel her passion for inclusive and engaging family content.
Calie is also a recognized voice in local media, contributing to WISN Channel 12 News, WTMJ Wisconsin Morning News, Fox 6’s Real Milwaukee, and B93.3.
Discover more about Calie’s journey and editorial approach on her About Page and Editorial Policy Page.


-min")
")
