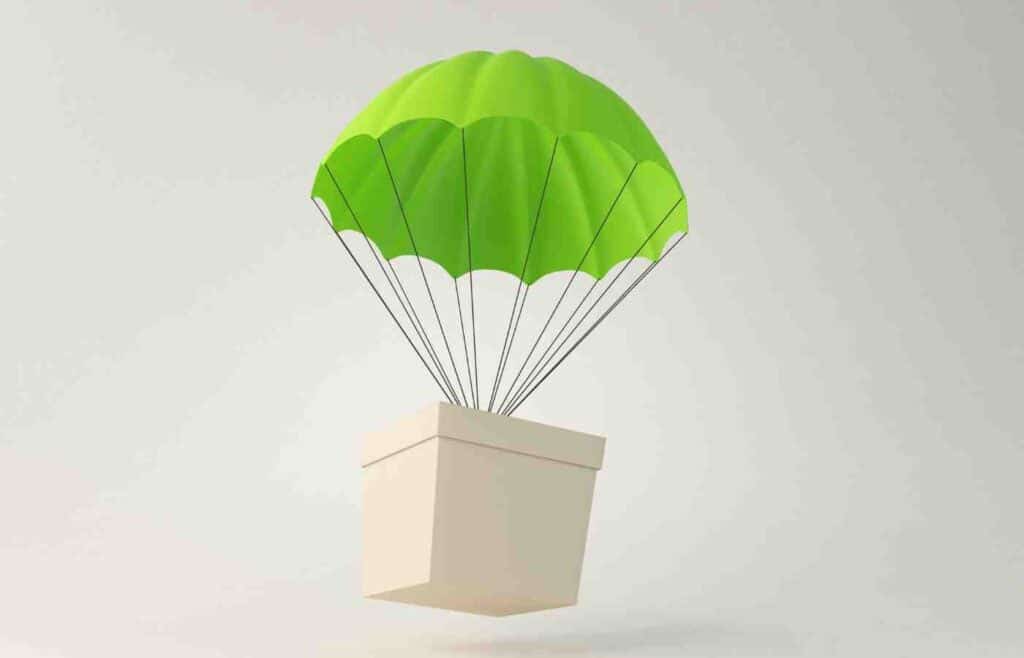
Looking for a fun, hands-on way to teach your kids about gravity?
Building a DIY parachute at home is a great way to combine learning and creativity. Plus, you probably already have all the materials you need!

This activity is perfect for curious kids who love to tinker, experiment, and explore how things work.
By crafting their very own parachute for a lightweight toy, they’ll be able to see gravity in action with their own eyes, and experiment with different materials to observe how they affect the parachute’s performance.
Ready to get started? Let’s dive into this simple and engaging project.
Materials You’ll Need:
- Plastic bag (like a grocery bag)
- Yarn or string
- Paper cup
- Scissors
Step-by-Step Instructions:
- Prepare the parachute: Start by cutting the handles off your plastic bag with the scissors.
- Make holes in the bag: Use the scissors to poke four holes around the edge of the bag, making sure they’re spaced evenly apart and directly across from one another.
- Prepare the cup: Next, cut four holes evenly spaced around the rim of your paper cup.
- Cut the yarn: Measure and cut four pieces of yarn, each about 10-12 inches long.
- Attach the cup to the parachute: Thread one piece of yarn through each hole in the paper cup, tying a knot to secure it. Do the same for the holes in the plastic bag, attaching the other end of each yarn strand to the parachute.
- Decorate the cup: Personalize your paper cup with stickers, paint, crayons, or markers! Let your kids get creative here and make their parachute unique.
- Time to launch! Place a lightweight toy or small object in the cup, then toss your parachute into the air. Watch as it floats down to the ground, slowed by the parachute you just created!
Experiment and Explore
Now that your parachute is ready for action, it’s time to get curious! Try experimenting with different objects in the paper cup. Does a heavier toy make the parachute fall faster? What about a lighter one—does it stay in the air longer?
You can also swap out the plastic bag for different materials, like a paper towel or napkin. How do these changes affect the parachute’s flight? Encourage your child to make predictions and test them out.
This DIY parachute is more than just a craft—it’s a mini science lesson in disguise. Your kids will learn about gravity, air resistance, and how different materials can change how things move through the air. Plus, they’ll have a blast launching their creations!
Looking for more fun, hands-on activities for kids? Explore more DIY projects, easy science experiments for kids, and crafts on our blog!
Calie Herbst, Editor-in-Chief of Milwaukee With Kids, has spent over a decade combining her experiences as a parent of three to create a hub for Milwaukee’s family adventures.
Her decade-long teaching career in Milwaukee Public Schools and academic background, including a Master’s in Teaching from Marquette University and dual B.A.s in Sociology and Spanish from the University of Wisconsin – Madison, fuel her passion for inclusive and engaging family content.
Calie is also a recognized voice in local media, contributing to WISN Channel 12 News, WTMJ Wisconsin Morning News, Fox 6’s Real Milwaukee, and B93.3.
Discover more about Calie’s journey and editorial approach on her About Page and Editorial Policy Page.


